Installation detailing
Vinyl siding done right: nailing slack, expansion gaps and starter strip
Vinyl is a hanging system, not a fastened cladding. Every rule below comes out of one property: the panel changes length with temperature, and the install either lets it or fights it.
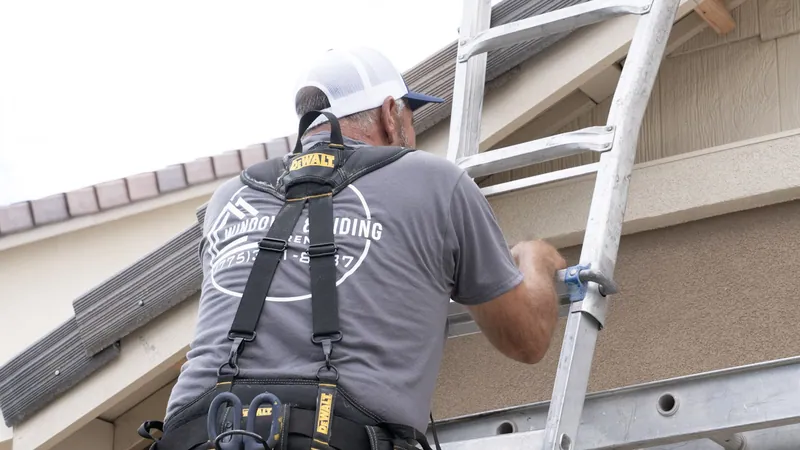
Vinyl siding is a hanging system. The panels are not fastened to the wall in the way a fiber cement board is fastened to it: they are hung on nails that stay deliberately loose, and they slide along those nails as the temperature changes. Almost every vinyl failure we get called out to is the same root cause with a different symptom: somewhere on that wall, a panel was stopped from moving.
The figures below are the common case published across manufacturer instructions. The sheet in the carton governs the wall you are actually standing in front of, and manufacturer coverage generally depends on the install matching it, so that sheet is the first thing off the pallet, not the last.
What goes on the wall before the first panel
Vinyl needs a nailable substrate that a fastener can bite into by about three quarters of an inch. Over rigid foam that means a longer fastener chosen to reach the sheathing or the framing behind it, not a longer fastener chosen by eye. Under all of it, the weather-resistive barrier goes on lapped shingle-fashion (upper courses over lower) and gets integrated with the flashing at every window and door head rather than taped over it afterwards. Where a roof runs into a wall, a kickout at the bottom of the step flashing is what throws the runoff clear of the cladding instead of behind it.
Then flatness. Vinyl telegraphs a wavy wall more visibly than any other cladding because it is thin and it is glossy, and the low sun on a west elevation in Reno will find every dip. Furring out a bowed wall before hanging anything is cheaper than explaining it later.
The starter strip decides every course above it
Find the lowest point of the wall, mark up from it, and level around the whole building with a laser or a water level before a single strip goes on. The starter is set to that line, not to the bottom edge of the sheathing, because the sheathing is rarely as level as it looks. Every course above locks into the one below, so an error in the first course does not average out over the wall. It accumulates, and by the eaves it is visible from the street.
The strip is nailed through its own slots on the same rules as the panels, and successive lengths get a gap between them rather than being butted tight.
Corner posts, J-channel and the order they go on
Corner posts hang from the top. One fastener goes high in the uppermost slot to carry the weight, and every other fastener is centred and left loose so the post can grow downward. The bottom of the post finishes about a quarter inch below the starter strip, and the top stops short of the soffit (the underside of the roof overhang) so it has room to move.
J-channel goes around openings before the panels reach them. At the head, the channel gets a drip cut and a tab bent down into the side channel. That small piece of tin work is the only thing stopping water running down the head channel and straight in behind the vertical leg. It takes about a minute per opening and it is skipped constantly.
The nailing schedule
- Drive in the centre of the slot, never at either end
- Drive square to the wall; an angled nail pinches the hem
- Reach at least three quarters of an inch into nailable material
- Leave the head a fraction proud: roughly a thirty-second of an inch of daylight between the head and the nailing hem
- Typical spacing published for horizontal panels is about 16 inches on centre; vertical panels and accessories are tighter, generally in the 8 to 12 inch range
- Never face-nail through the panel
The field check is not a gauge, it is your hand: after a run is fastened, push the panel sideways. It should move. If it does not, the nails are too tight and the wall is already storing the stress that shows up as a wave in August.
Expansion gaps, and the temperature that changes them
Cut ends run into a receiving channel, and they stop short of the bottom of that channel on purpose. Published instructions generally call for something around a quarter inch of gap at each end in mild conditions, opening to about three eighths when the install is happening in the cold, which in Northern Nevada is a real variable, not a theoretical one. A wall started at 28 °F on a February morning is a measurably different length by mid-afternoon.
Where a panel runs into something that will not yield (a light block, a hose bib mount, a meter base), the allowance doubles, because the panel cannot borrow room from a fixed object the way it can from a channel.
Panel layout and lap
Butt joints get the overlap the instructions specify, commonly about an inch, and they get staggered so that no two joints stack within about three courses of each other. Joints get placed away from the elevation people look at from the street, and they never get closed by stretching a panel. Stretching one joint shut simply steals the allowance from the next one along.
The four failures we get called out to fix
- Nailed tight. The panel cannot slide, so it buckles between fasteners. It shows up first on a south or west wall, usually in the first hot spell after installation.
- No gap at the channel. The panel grows into the post and bows outward in the middle of the run, and the bow gets worse each summer.
- Face-nailed. Vinyl is at its most brittle in the cold, and a fastener driven through the face gives it a place to split from.
- Caulked into the channels. The channel is both a movement path and a drainage path. Sealant in it defeats both, and the water now has nowhere to go but the sheathing.
None of the four is a material defect, and all four are visible to anybody who knows which twenty seconds of the wall to look at.
Where vinyl stops being the right answer
Two things take vinyl off the table regardless of how well it would be hung. The first is the wildland-urban interface along the west side of the valley, where the interface code steers exterior construction toward ignition-resistant materials: fiber cement and engineered wood rather than vinyl. The second is a wall so out of plane that no amount of furring will make a long, glossy panel look flat.
Where either applies we price the alternatives side by side rather than talking you into the material we were already carrying up the ladder. The siding materials page compares them by exposure and maintenance, and the Reno page covers which side of the interface line an address falls on.
From the service log
What crews ask on the first wall
Not tight. The nail is a hanger, not a clamp: driven in the centre of the slot, square to the wall, and left a fraction proud so the panel still slides side to side by hand afterwards. Manufacturer instructions put that gap at roughly a thirty-second of an inch, and the field check is simpler than measuring it: push the panel sideways, and if it does not move, back the nail out.
Published instructions generally call for about a quarter inch where the cut end enters a receiving channel, opening to about three eighths in cold weather, because a panel cut at 30 degrees is longer at noon in July. Where it butts something fixed, such as a light block, the allowance doubles.
No. A receiving channel does two jobs at once: it lets the panel move and it drains whatever gets behind the face. Sealant in the channel stops the first and blocks the second, and it is why a wall that looked tidy in October is bowed by the following summer.