Installation detailing
Siding for harsh Reno winters: freeze-thaw, the weather barrier behind it and kickout flashing
Cladding is a deflector, not a seal. Every lap wall leaks a little by design. What decides whether a Northern Nevada house survives eight months of freeze-thaw is the layer behind the boards: which way it laps, how the openings are pan-flashed, and whether anyone fitted a kickout where the roof dies into the wall.
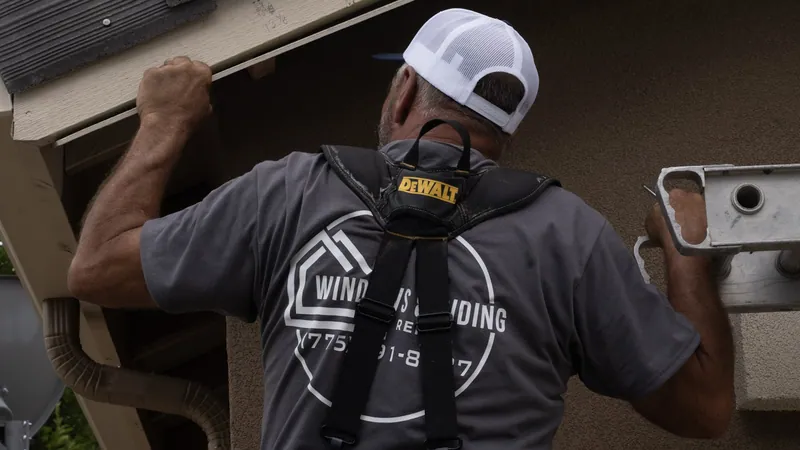
Every conversation about siding here starts in the wrong place. The question gets put as which board survives the winter, and the honest answer is that all the modern ones do: fiber cement, engineered wood, vinyl and steel all sit outdoors at twenty degrees without complaint. What fails is not the board. It is the water that got behind the board on a warm afternoon and was still there after dark.
What freeze-thaw actually breaks
Water expands as it freezes, by roughly a tenth of its volume, inside whatever it happens to be occupying. The damaging version of that cycle here is not a single hard night in January. It is the ordinary shape of the day from about October to May: sun on the south and west elevations warm enough to melt snow off the roof and push moisture into an open joint, then a clear high-desert night that takes the same water back below freezing. Dozens of times a season. It is fatigue, not an event.
What it does, in the order we find it: opens the field-cut end of a fiber cement plank where the primer was never replaced; swells the strand core of an engineered wood board wherever the coating stops; lifts a flashing lap a fraction at a time; splits a sealant bead that had already gone hard. None of those is the material giving up. All of them are the detailing.
So the durability question is not which cladding survives the cold. It is how much water gets behind the cladding, and how quickly it gets back out.
The drainage plane, and the one rule that governs it
Behind the cladding is the water-resistive barrier (building paper or a mechanically fastened wrap), and it, rather than the siding, is the layer the code holds responsible for keeping water off the sheathing. Everything on the outside of it is a deflector. Everything about how it is installed comes down to one rule.
Every course laps over the course below it. Shingle fashion, the way a roof does, so that water running down the face of the barrier hits a lap and stays on the outside of it. Reverse a single lap and the same geometry becomes a funnel pointed at the sheathing. The lap dimensions themselves are printed on the roll and they differ between products, which is why the roll stays on site until the wall is closed.
Where it goes wrong, roughly in order of how often we open a wall and find it:
- A course run backwards at a scaffold-height change, where the crew came down a lift and started the next roll from the top.
- Wrap tape used as a substitute for a lap rather than as a supplement to one.
- The barrier cut for a hose bib, a dryer vent or a light block that was added years later, and never re-lapped, just sealed around the pipe.
- The barrier stopped at an outside corner instead of wrapped past it, so the corner board is the only thing standing between the wind-driven rain and the framing.
- Fastener heads driven without caps, in a wind zone, so the barrier tears at the fastener line before the house is even closed in.
Openings get flashed bottom-up, and the head goes under the wrap
An opening is flashed in one order and there is no version of the job where it changes: sill first, jambs lapping over the sill, head lapping over the jambs, barrier lapping over the head. Every one of those relationships is gravity doing the work rather than an adhesive.
The sill pan is the piece that gets skipped: a formed pan, or flexible flashing turned up at both jambs with a back dam and sloped to drain outward. Its job is to catch the water that gets past the window’s own perimeter seal, because some always does, and assuming it will not is what turns a small detail into a framing repair.
The head flashing is the piece that takes a whole wall with it. It has to tuck under the barrier above so the barrier drains onto it. Taped on top of the wrap instead, the tape becomes the waterproofing, and tape has a service life while a lap does not.
One more, counter-intuitive enough that people undo it after we leave: sealant at a window perimeter goes on the jambs and the head and never across the sill. The sill is the drain.
Kickout flashing, the small part behind most rotted sheathing
Where a roof edge terminates against a wall (a garage roof meeting the house, a porch, the low side of a dormer), the step flashing that runs up that junction has to end in a diverter. The lowest piece is formed so that it kicks water away from the wall and out into the gutter instead of letting it carry straight on down behind the cladding. The residential code calls for it. A great many houses do not have it.
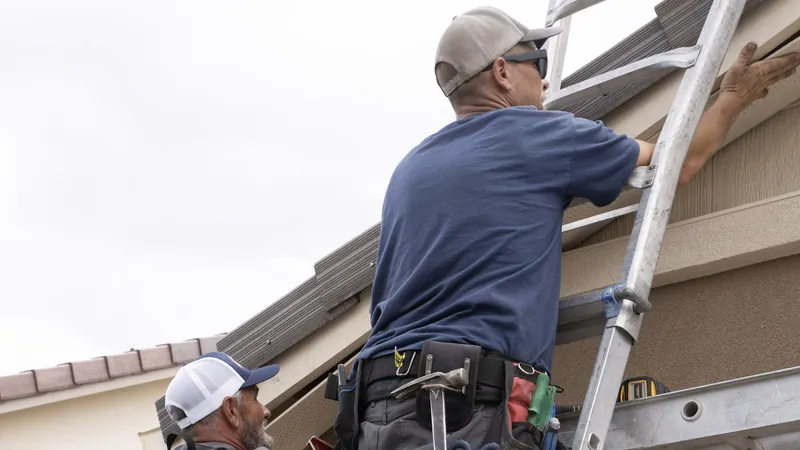
What a missing kickout looks like from inside a wall is unmistakable and it is the reason we probe rather than quote from photographs: a vertical stripe of blackened sheathing roughly a foot wide, starting at the roof-wall junction and running down to the band joist, with the cladding over it looking entirely serviceable from the driveway. Replacing the boards on that wall without adding the diverter buys about four years.
Clearances and cut edges: two lines that decide the warranty
Both fiber cement and engineered wood ship with installation instructions setting a minimum clearance from the bottom of the cladding to grade, and separate ones to roofing, decks and horizontal flashing. Both also carry an instruction on treating an edge cut on site. Those are conditions of the manufacturer’s coverage rather than best practice, and the current numbers live in the sheet that ships with the product, which is where we read them rather than from memory.
In this valley the clearance that gets bridged is the one to grade, and it usually happens after everyone has gone home: a raised bed built against the wall, a fresh depth of bark, a patio poured up to the base course. Capillary action does the rest. The board is not defective; the clearance was.
Field-cut edges are the same story. Every plank cut to length exposes an untreated edge, and every one of those is a wick unless it is treated the way the instruction says. It is thirty seconds a cut, and it is the difference between a butt joint that is fine at year fifteen and one that is swollen at year six.
Fastening, butt joints and the movement nobody plans for
- Fasteners land in framing, not just in sheathing, at the type and spacing the instruction sets. On a wind-exposed elevation that is not a place to save time.
- Over-driving is the callback. A nail head driven through the surface of a fiber cement plank crushes the fibre and breaks the coating, and it is invisible from the ground until it stains. Set the gun, then check it again once the compressor has warmed up.
- Butt joints land on framing over joint flashing: a rigid strip behind the joint, so water arriving there is shed onto the course below rather than into the sheathing. Whether the joint is also sealed depends on the product and on which revision of the instruction is current.
- Vinyl has to be able to move. The panel is hung, not fixed: the fastener sits centred in its slot and stops short of tight, because the panel changes length noticeably between an afternoon in July and a night in January. Nailed home, it buckles, and the daily swing here makes that show up faster than almost anywhere else.
A drainage gap, where the budget allows it
The last upgrade worth naming is furring the cladding off the barrier to leave a continuous vented gap behind it: a path down and out for water, a way for the back of the boards to dry, and less work for the sealant. It costs time at every opening and every termination, so it is not automatic. But on a west- or south-facing wall in this climate it is the detail we push hardest for.
If your own walls are due for new cladding, see the siding materials and profiles we install and ask about the gap when we measure.