Installation detailing
Annual siding inspection: caulk joints, butt seams, ground clearance, wash method by material
One walk round the house, four things to look at, and a wash method that changes with what is on the wall. Do it wrong on fiber cement and you take the factory finish off; do it wrong on vinyl and you drive water uphill into the laps.
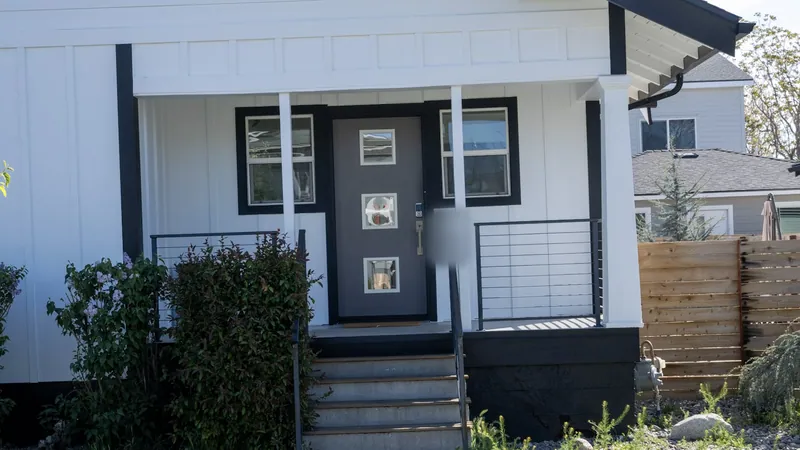
Siding is not maintenance-free, and the products that get sold that way are really being sold as low-maintenance-if-you-do-the-right-thing. The right thing is one walk round the house a year with a bucket, a soft brush and an awl, and the method matters more than the frequency. The wrong tool on the wrong wall does more damage in an afternoon than five years of neglect.
Wash method, by material
Fiber cement
Garden hose, soft-bristle brush, mild detergent, one section at a time. Work the solution on from the bottom of the wall upward and rinse from the top down, so that no part of the wall has cleaner drying on dirt. The reason for the gentle approach is specific rather than general: the colour on a factory-finished plank is a thin baked coating, and it is the coating that keeps water out of the fibre. Take it off with a narrow washer tip and the substrate is exposed. On a site-painted wall it is the paint film doing the same job, with the same consequence.
Manufacturers publish a care and maintenance sheet that sets a maximum pressure, a minimum tip angle and a standoff distance if a washer is used at all. That sheet, not a rule of thumb, is the number to work to.
Vinyl
Mild detergent and a soft long-handled brush. Bottom to top going on, top to bottom rinsing off, and rinse often enough that nothing dries. Keep the stream angled downward. This is the part people get wrong: a vinyl wall is a drainage plane by design, the laps are deliberately unsealed and the panels hang loose so they can move, and water shedding down the face is exactly what the system expects. Point a hose or a washer wand up under a lap and you are pushing water into the one direction the assembly has no answer for.
Skip organic solvents, nail polish remover, furniture polish and undiluted bleach; all of them are on published do-not-use lists for a reason, and all of them are in somebody’s internet method.
Engineered wood
A coated wood-strand board manages water through its coating, so anything abrasive is the enemy. Low pressure, soft brush, no scouring pads and nothing that will scrub through a finish. Pay attention to the butt joints and to the bottom course, because those are where the coating is thinnest and where any cut end lives, and keep the repaint cycle the coating manufacturer sets rather than the one the wall looks like it needs.
Painted wood
Detergent alone lifts the visible mildew and leaves what caused it, which is why the green comes back on the north wall before the summer is out. Use a cleaner intended for mildew, give it its dwell time, rinse thoroughly, and take the opportunity to look at the paint film rather than at the colour: chalking, hairline checking across the grain and any lifting at a cut end are all telling you the repaint is overdue.
Why the pressure washer is the wrong first tool
A lap wall is a shedding system, not a sealed one. Every horizontal joint on it is designed to let water run down the outside and to let anything that gets behind drain out again at the bottom. A pressure washer reverses that. Held at close range and angled up, it puts water behind the cladding faster than the wall can drain it, and the places it gets in are precisely the places that are hardest to inspect afterwards.
If one is used anyway: wide fan tip, lowest pressure that works, arm’s length and then some, stream angled down, and never aimed at a lap, a penetration, a soffit vent (a vent in the underside of the roof overhang) or a window perimeter. The window perimeter is the one that catches people: a few seconds at close range against a window sill will push water past a seal that has been keeping rain out for fifteen years.
Caulk joints: which get sealed, and the one that never does
Sealant is a movement joint. It is not glue and it is not flashing, and treating it as either is the most common maintenance error on an exterior wall. When a bead fails it fails in one of two ways, and which one it is tells you what to do next:
- Adhesive failure: the bead has peeled cleanly off one face and is still intact. The surface was dirty, damp, dusty or unprimed when it went on. Cut it out, prepare the substrate properly, and the replacement will hold.
- Cohesive failure: the bead has split down its own middle. The joint moved more than that sealant’s movement capability allowed, or the sealant is simply old and hard. Replacing like for like will produce the same split; the joint wants a higher-movement product, or it wants to be a different detail.
Seal: siding to trim, trim to window and door jambs and heads, the top edge of any horizontal trim board, and around penetrations that are not otherwise flashed.
Never seal: the underside of a window or door opening, the weep slots cut into a vinyl or aluminium window sill, the bottom edge of a lap board, or the drainage gap at the base of the wall. Every one of those is an exit. Close an exit and the water that was leaving stays.
Butt seams, cut edges and the bottom course
On fiber cement, butt joints land on framing with joint flashing behind them, so a joint that has opened slightly is usually cosmetic and a joint that is staining below it is not. Look at the ends themselves: a field-cut edge that never got its sealer will swell before anything else on the wall does.
On engineered wood, the ends are where the coating is at its most vulnerable, and a swollen or fuzzy end is the early warning.
On vinyl, check that panels still slide by hand along the wall. A panel nailed home instead of hung loose cannot move, and in a climate with a thirty-five to forty degree daily swing it will buckle somewhere between the fixings. It is a two-minute check and it predicts the wavy wall a year in advance.
Ground clearance, hardscape and the sprinkler head
Manufacturers set minimum clearances from the bottom of the cladding to grade, to roofing, to decks and to horizontal flashing, and those clearances are conditions of the warranty. What is worth knowing is that they are almost never breached by the installer. They are breached afterwards, by a raised bed built against the wall, by a fresh depth of bark, or by a patio poured up to the base course. The board did not fail; the clearance was taken away from it.
The Northern Nevada version of this is the irrigation head. A head that clips the wall puts hard water across the same eighteen inches of siding twice a day, all summer. What it leaves is a mineral band that detergent will not shift and, on a shaded elevation, a bottom course that never gets a chance to dry. Re-aiming that head is the cheapest siding repair available, and it is the one nobody makes.
What we write down, in order
- Worst-exposure elevations first (south and west, where UV and heat do their work), then north and east, where the moisture problems live.
- Base course and grade clearance, all the way round, before anything else.
- Every butt joint and every cut end at eye level and below.
- Sealant at trim, jambs and heads, noting adhesive versus cohesive failure.
- Below every window and every roof-to-wall junction, because that is where a detailing fault shows on the face.
- The eaves last, from the ground with binoculars, looking for a gutter that has started to tilt back.
If that walk turns up more than a weekend of sealant, our page on fiber cement work and repairs covers what we take on.